Last Updated on June 1, 2026
Poured concrete slabs make excellent foundations, patios and driveways. Done well, they can last decades with minimal maintenance required. But you likely know you can’t just mow the grass and pour wet concrete onto it. To create a durable concrete slab that won’t crack or crumble, you have to start from the ground up – literally.
Proper ground preparation is the key to installing a beautiful, strong slab that your customers will appreciate. In this article, you’ll learn all about preparing ground for concrete.
Why You Need Proper Ground Prep for Concrete Slabs
Whether you’re laying a slab foundation that no one will ever see or a decorative stamped concrete walkway for a garden, you need to level the site and prepare the soil first. You can think of it as your foundation’s foundation.
Preparing the ground correctly supports the concrete, enhancing its stability and durability. Also, it allows for proper drainage and other building code requirements. For example, regulations may require the concrete and its base to be a certain thickness.
- Read more:
What Happens If I Don’t Prepare the Ground?
If you don’t prepare the ground before pouring concrete, the final slab may turn out uneven and weak. This can cause a host of issues later, including:
- Incompliance with local building regulations, leading to costly delays and rework.
- Poor water drainage and little resistance to harsh weather.
- Instability and weak structural support (especially for slab foundations).
- Cracks and holes where weeds and pests can get through.
- Shortened lifespans of the slab and any structure built on it.
Concrete Preparation Equipment You’ll Need
For any concrete pour, make sure you have the right equipment for excavating and leveling the ground. Depending on the size of the project and the type of soil, renting equipment can help you save time and labor.
- Yard Level, Stakes and String: Use a long carpentry level to help ensure that the entire area is level, not just in small portions of it. Mark the shape and perimeter of your slab with wooden stakes and string.
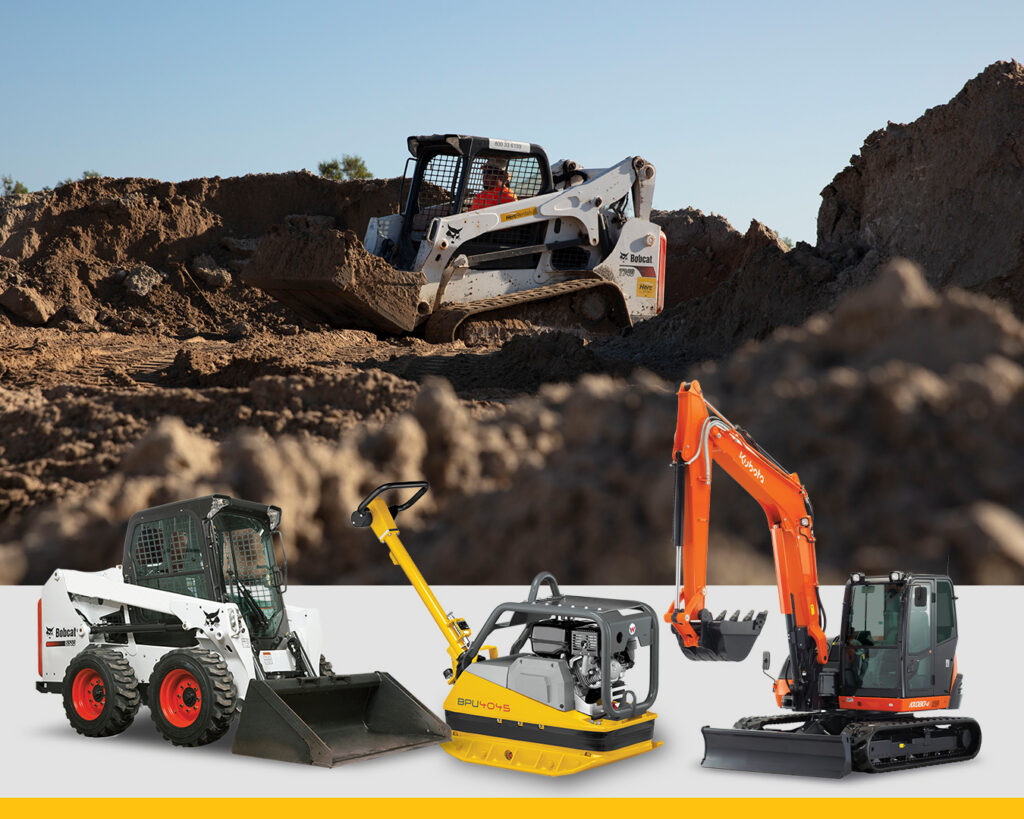
- Earthmoving Equipment: Larger projects or soil full of roots and rocks may need a mini excavator or skid steer. Small projects with soft soil may only need hand tools like a hand rake, shovel and wheelbarrow.
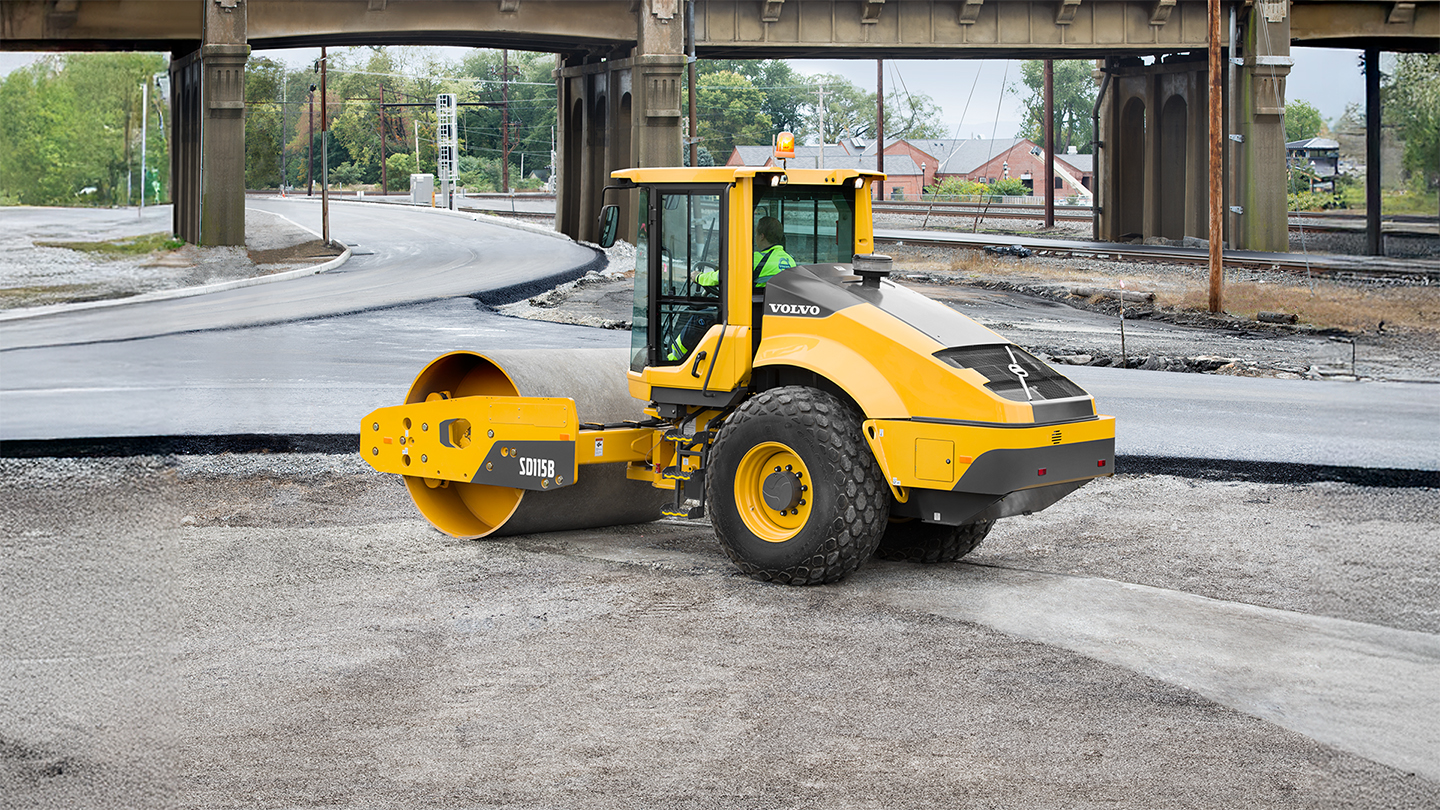
- Compacting Equipment: Compacting the soil beneath the slab is necessary to prevent settling, which will result in uneven or cracked concrete. Large projects may need a plate compactor or soil roller. Small projects may need a hand tamper or rubber mallet.
- Rebar and Wooden Framing Material: The frame gives the slab its shape, and rebar adds strength to the concrete once it cures.
- Crushed Gravel or Stone: Gravel or crushed stone allows groundwater to drain away from the concrete and helps prevent the concrete from cracking when the ground freezes and thaws.
How to Prepare a Site for Poured Concrete
Once you’ve reviewed all applicable building code requirements and gathered the right equipment, follow the steps below for preparing ground for concrete bases.
1. Clear the Site of Debris and Excavate the Soil
First, clear the site of objects and debris. Then remove the top layer of soil, which is usually at least 6 inches deep. When excavating, be sure to remove all roots, grass and other organic matter. Leaving roots behind means they can rot and cause the soil to settle, making your slab uneven.
Excavating Tips:
- Contact 811 before you dig. Calling 811 before you dig keeps you safe and is also required by law. Professionals will mark power, gas, sewer, water or communications lines in the area so excavators and those doing construction can be sure to avoid them.
- Review local building codes and safety standards. They may dictate what equipment you can use or how deep to excavate – sometimes this is up to 12 inches deep or more. See OSHA’s standards for excavation and using earthmoving equipment.
- Save time and labor with the right equipment. A shovel or spade can be used for small projects and soft soil. For large projects or hard, rocky soil use a skid steer or mini excavator to save hours of labor.
2. Determine the Proper Depth
Check your local building codes. The thickness of the concrete is usually determined by the local building codes. A slab foundation for a house will likely be much thicker than a small footpath.
Once you know how thick the slab needs to be, mark the perimeter with stakes and twine or string.
You can also use the string as a visual marker of the height and slope of the surface, making it easier keep the slab level when you pour and finish the wet concrete.
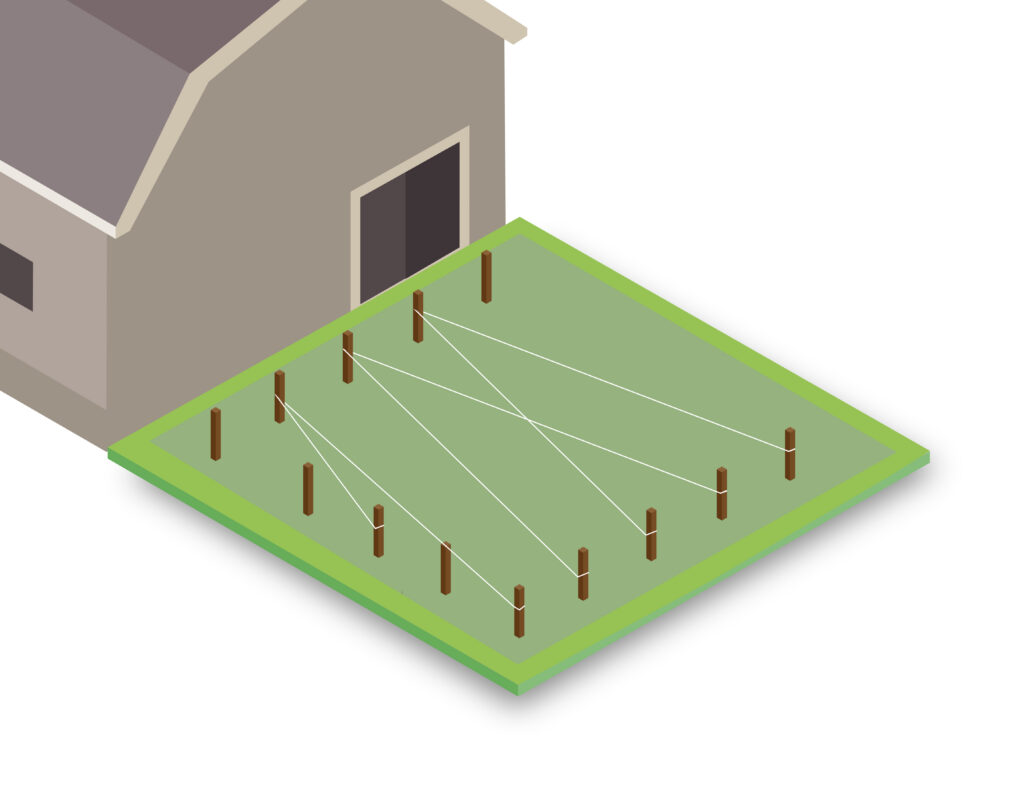
- Tie the string around the stakes at the height where you want the surface of the slab to be. For example, if you’re pouring a 12-inch slab, there should be at least 12 inches between the strings and the dirt underneath.
- Loop the string from stake to stake in a zig-zag pattern, adjusting the height of the string to mimic the desired slope of the slab. For example, if the concrete is next to a building, the strings should slope away from the building’s foundation.
- Make sure the string is tight with no slack. Use the yard level to adjust the slope of the strings between stakes.
3. Level the Excavated Soil
Using the measurements from Step 2, check how level the excavated area is with the yard level. If needed, add or remove soil to level the ground below the strings. Start at the high spots and move outward from them, pushing soil into the lower areas.
Work slowly, stopping to check the depth and slope of the ground as you go. You may have to excavate and level multiple layers of soil.
4. Compact Each Layer of Soil
Use a tamper or roller to compact each layer of soil. If the soil is never compacted, there will be pockets of air that can expand or collapse over time, weakening the concrete.
Again, work section-by-section. Stop to check that the ground remains level (or sloped correctly for drainage) as you go. Make multiple passes over the entire area, adjusting the soil depth if needed.
5. Dampen the Soil and Lay the Base
Poured concrete needs a stable base that allows water to drain, freeze and thaw without causing the concrete to crack.
If the soil is too dry, it won’t make a good base for the concrete because it will be too loose and can shift over time. Use a hose to dampen the ground, if needed, before laying a base of gravel and sand. The soil should stick together when squeezed, not just fall apart.
Be careful not to make it too wet, though. Overly wet soil can also cause shifting and keep concrete from curing properly. If puddles form, or water bubbles up when you walk on it, wait for the ground to dry out a bit.
When the soil is ready and level, add a layer of gravel and then a layer of sand. For each layer, check that the surface remains level.
Both layers help with drainage and provide a smooth, stable surface for the concrete. Check your local building codes to find out how thick each layer should be (usually about 4 inches each).
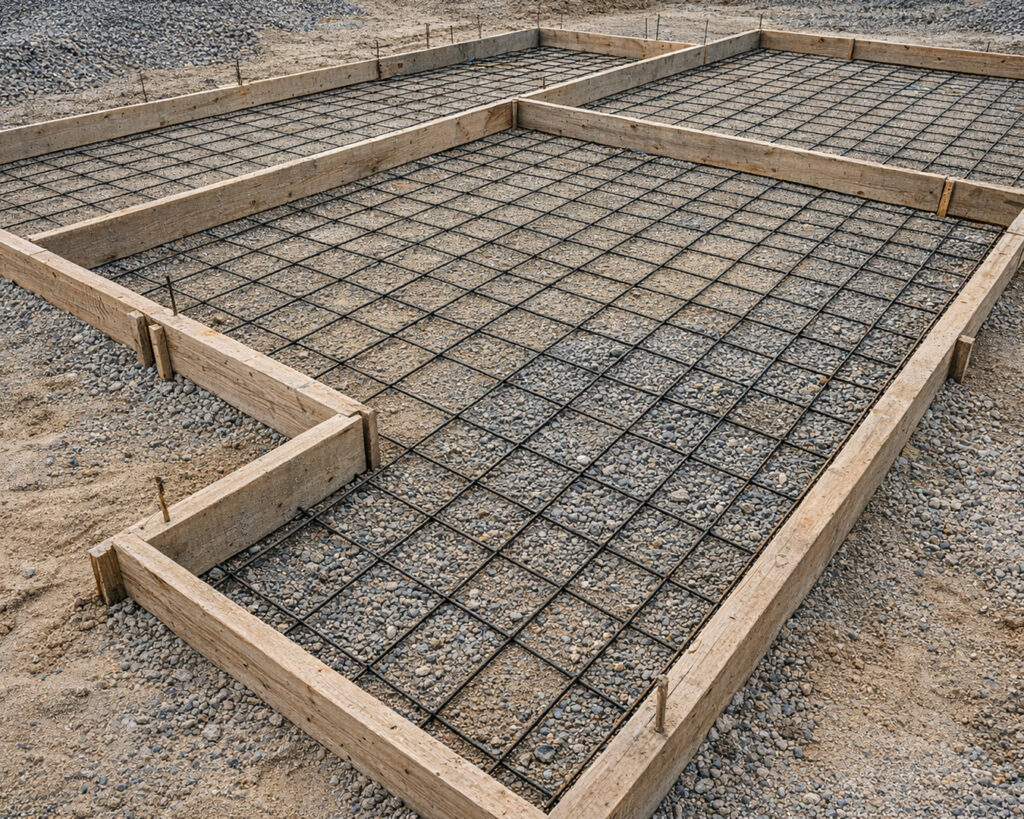
6. Build Up the Concrete Framework
Once the base is installed, it’s time to place the forms and rebar. This is the last step in preparing ground for concrete!
The forms, or framework, should be installed level and plumb around the perimeter. These walls will hold the wet concrete in the desired shape as it dries.
Depending on the building codes, you may also need to install rebar. The rebar adds strength and helps the concrete keep its shape.
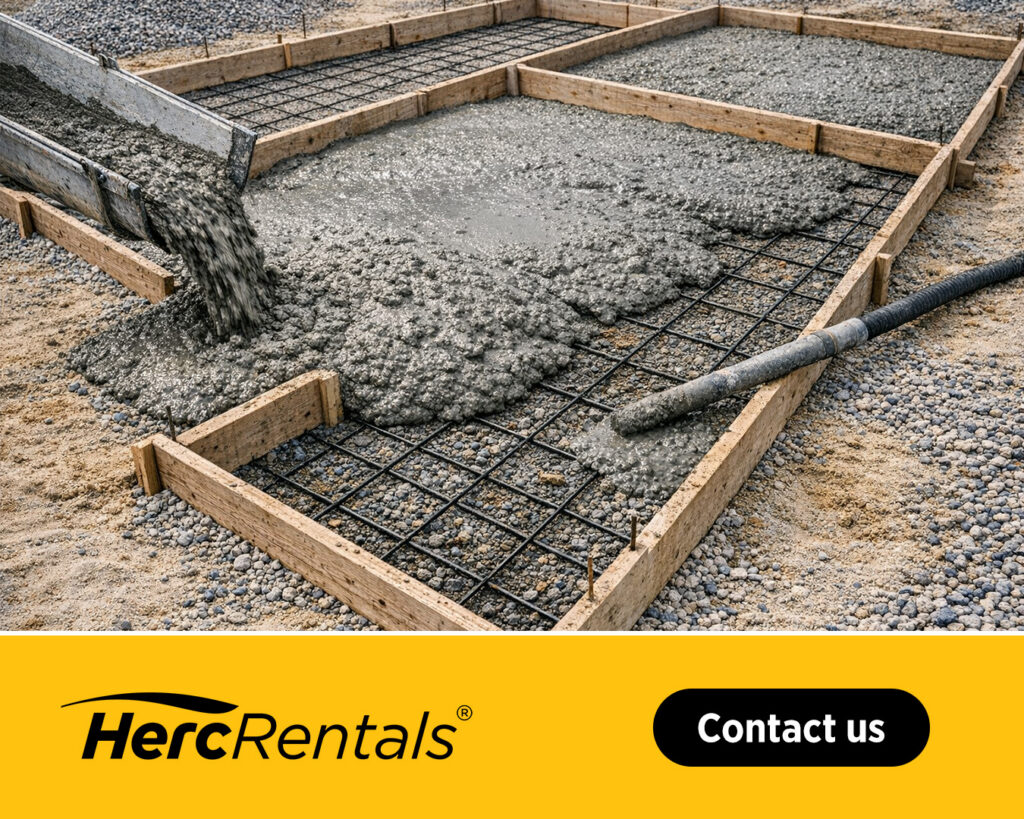
7. Install the Slab
By now, you have completed the ground prep for concrete slabs. It’s time to pour the concrete. As you pour, make sure the concrete is level and sloped correctly. You may need to adjust or add rebar as you go.
Rent Quality Concrete Equipment from Herc Rentals
Concrete site preparation can be a tough job. With the tips above, you’ve learned how to complete ground prep for concrete slabs. As you learned, it can take hours of hard work without the right equipment. So the next time you have a big concrete project, gear up with earthmoving and concrete equipment from Herc Rentals.
Our fleet of reliable skid steers, mini excavators, and plate compactors are ready to help you get the job done quickly and safely. Plus, when you partner with Herc Rentals, you get access to quality support and services that help streamline your operation, such as equipment transportation and safety training.
Explore our wide selection of top-quality concrete and masonry tools, compaction and paving solutions and earthmover rentals today. Or, call 1-800-432-6215 to talk to a specialist who will help you find the best solutions for your next project.