Last Updated on August 12, 2025
When a customer asks you to install a patio, they expect beautiful and durable results. They want a patio that helps people enjoy the outdoors without tripping on cracks, slipping in puddles or looking at unsightly weeds.
To build them a gorgeous, functional patio, you need to start with a great foundation. For paver patios and poured concrete patios alike, starting with a level yard is the difference between a professional job and an amateur one.
Unfortunately, no ground is ever completely level. It’s your job to make it that way. In this article you will learn why a level yard is a must-have for any patio. You’ll also learn how to level a yard to prepare for building a patio.
Do I Need to Level a Yard Before Paving? Yes!
It doesn’t matter if you’re installing a paver patio or a poured concrete patio, no one wants a cracked or uneven surface with weeds growing through it. Similarly, no one wants a water drainage issue because runoff from the patio is settling too close to the foundation. By leveling a yard first, you will help make sure the patio doesn’t become a headache for you or your customer.
When you level the yard first, you help create:
- A Longer Lasting Patio: Poor drainage and shifting soil caused by uneven ground can also cause the patio to warp and crack. Level ground helps the patio last longer.
- A Safer Surface and Work Area: A level yard helps you create a safer work environment and patio surface free of trip hazards and slippery wet spots caused by poor drainage.
- Higher Property Values and Happy Customers: A beautiful patio that keeps water from pooling around the base of nearby structures can increase the curb appeal and property value. Doing it right the first time also helps prevent unhappy customers and costly rework.

Equipment and Materials You Need for Leveling a Yard
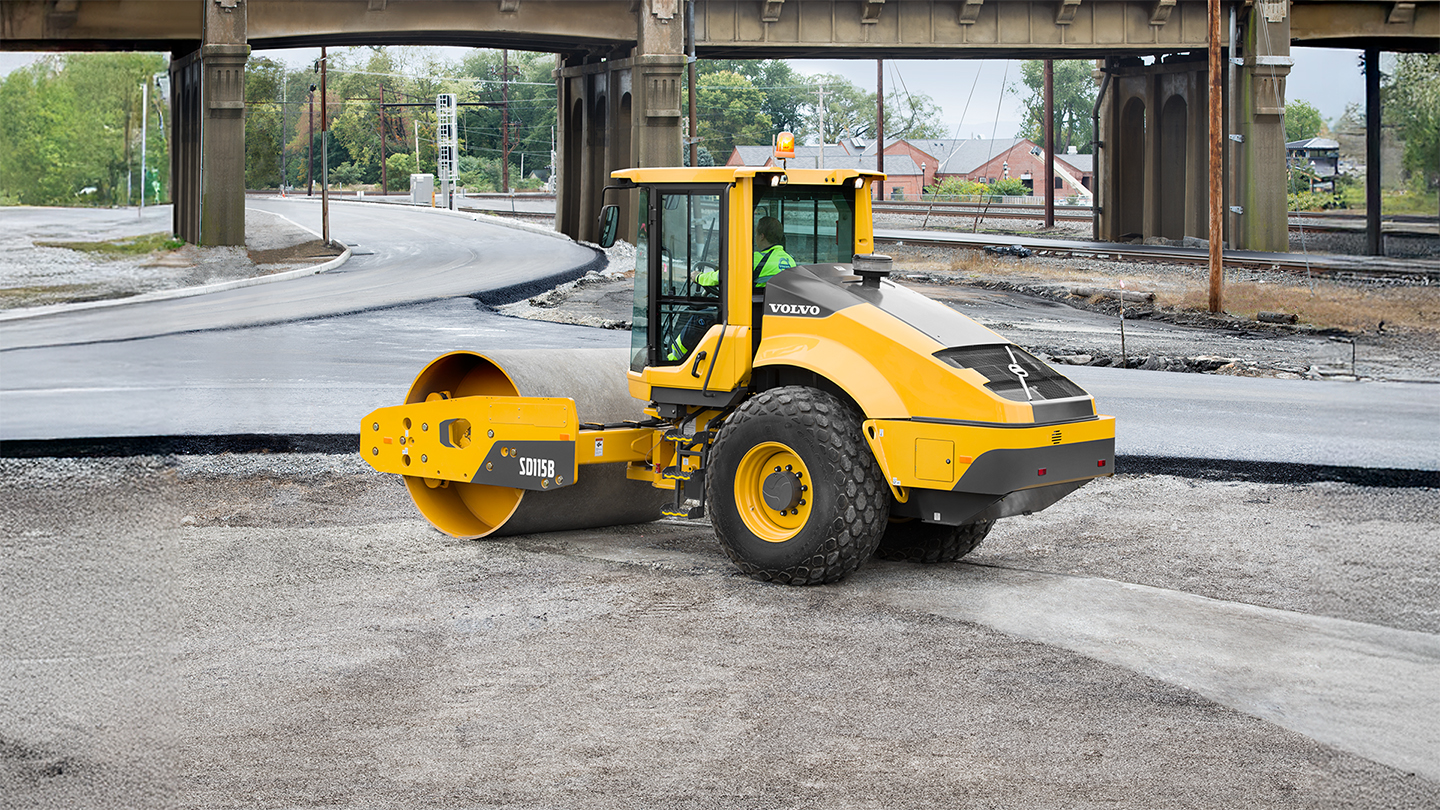
For any patio installation, having the right equipment for excavating and leveling ground is something you must do before you learn how to level a yard to prepare for building a patio. Consider the size of the project site, the type of soil it has and the type of patio you’re installing. Renting equipment, such as mini excavators and plate compactors can help you save on costly time and labor.
What You’ll Need to Level a Yard for a Patio:
- Stakes and Twine or String: Stakes and twine are used to mark out the outer boundaries of the patio as well as indicating the desired depth and slope.
- Yard Level: This is a long carpentry level that will help ensure that the entire area is level, not just in small portions of it.
- Earth-Leveling Equipment: Larger projects or soil full of roots and rocks may need a mini excavator or skid steer. Small projects with soft soil may only need hand tools like a hand rake, shovel, and wheelbarrow.
- Compacting Equipment: Compacting the soil beneath the patio is necessary to prevent it from settling later, which will result in uneven pavers or cracked concrete. Large projects may need a plate compactor or soil roller. Small projects may need a hand tamper or rubber mallet.
- Landscape Fabric: Landscape fabric is essential for paver patios. It can prevent weeds and help keep gravel in place.
- Crushed Gravel, Stone, Paver Sand: Gravel or crushed stone are used for drainage for the foundation of the patio and will help prevent it from becoming uneven or cracking. This is especially important for poured concrete patios. Paver patios may also need paver sand (also known as polymeric sand).
How to Level a Yard to Prepare for Building a Patio
Once you have evaluated the project site and gathered the right equipment, follow the steps below to properly excavate and level the ground. These expert tips will help you create a durable foundation for installing a paver patio or poured concrete patio.
1. Remove Debris and the Top Layer of Soil to Prepare for Building a Patio
First, clear the site of objects and debris. Then excavate the top layer of soil. When removing the top layer of soil, be sure to remove all the organic matter like roots and grass. Even if the plants are unable to grow, their roots will rot below the patio, causing the soil to settle and the patio’s foundation to become uneven.
Excavating Tips:
- Contact 811 before you dig. Contacting 811 in your state before you dig will not only keep you safe, but it’s also required by law. Professionals will mark power, gas, sewer, water or communications lines in the area so excavators and those doing construction can be sure to avoid them.
- Review local building codes and safety standards. They may dictate what equipment you can use or how deep to excavate. See OSHA’s standards for excavation and using earthmoving equipment.
- Save time and labor with the right equipment. A shovel or spade can be used for small projects and soft soil. For large projects or hard, rocky soil use a skid steer or mini excavator to save hours of labor.

2. Determine the Desired Patio Height and Mark the Area
Use the stakes to mark the corners of the patio. Then tie string between the stakes to outline the edges of the patio.
This string will serve as a visual marker of the height and slope of the patio’s surface, so place it as high up on the stakes as needed to show where the surface will be.
Make sure the string is tight with no slack. Use the yard level to adjust the slope of the strings between stakes. If the patio is next to a building, the strings should slope away from the building’s foundation.

3. Remove More Soil from the Excavated Area to Level the Yard
If needed, continue excavating the marked area to reach the necessary depth.
- For Paver Patios: Dig deep enough to remove all plant matter and create room for the gravel/sand foundation plus the thickness of the pavers.
- For Poured Concrete Patios: Check local building codes. You may need to dig down 10-12 inches or more to accommodate the patio foundation and thickness of the concrete.
Check how level the excavated area is with the yard level. If needed, use soil to level out the area. Start at the high spots and move outward from them, pushing soil into the lower areas. Check that your work is level as you go so that you do not have to redo the work later.
4. Compact the Soil
Use a tamper or roller to compact the soil. Compacting the soil is important to prevent settling that will weaken the foundation of the patio. Work in small sections and check that the ground remains level (or sloped correctly for drainage) as you go. Make multiple passes over the entire area. If needed, add or remove soil.

5. Add Gravel and/or Sand and Make Sure It’s Level
Both paver patios and poured concrete patios need a stable base that allows water to drain, freeze and thaw without disturbing the patio. In areas with clay or other poorly draining soil, gravel becomes even more necessary.
- For Paver Patios: Add a layer of gravel, if needed. Then add a layer of paver sand.
- For Poured Concrete Patios: Add a layer of gravel that is at least several inches deep.
Use a rake or similar tool to spread the materials and check that it is level before moving on.
6. Lay Landscape Fabric to Enhance Stability and Longevity (Optional)
Landscape fabric is usually used with paver patios. With paver patios, weeds can easily grow through the sand and gravel, sprouting up between the pavers.
Landscape fabric prevents plants from growing through and around the patio, which can be an unsightly maintenance headache. It also helps prevent soil and gravel from working their way up to the surface, which could cause the patio to become uneven and less stable.
7. Level Again Before Installing Pavers or Pouring Concrete
Now that the yard has been excavated, it’s almost time to install the patio. Before you install the pavers or pour the concrete, do the following:
- Use the yard level one more time to make sure the foundation is level.
Then confirm that there’s still enough depth to allow for the thickness of the pavers or concrete. If not, you may have to remove some of the foundation or soil and relevel.
Need advice on laying a poured concrete patio? These guides can help:
Level Yards Quickly with Quality Equipment from Herc Rentals
Durable, gorgeous patios are built on level ground. But leveling a patio and the ground below it is no easy task. With the tips above, you’ve learned how to level a yard to prepare for building a patio. You also learned that it can take hours of hard work without the right equipment. So the next time you need to tackle a tough patio installation project, gear up with equipment from Herc Rentals.
Our fleet of reliable skid steers, mini excavators, and plate compactors are ready to help you get the job done quickly and safely. Plus, when you partner with Herc Rentals, you get access to quality support and services that help streamline your operation, such as equipment transportation and safety training.
Explore our wide selection of top-quality earthmover rentals and compaction and paving solutions today or call 888-777-2700 to talk to a specialist who will help you find the best solutions for your next project.