Last Updated on August 25, 2026
Flooring removal can turn into a bigger job than many people expect. What starts as a simple demo project can quickly become messy, dusty and physically demanding. Hidden problems like water damage, uneven subfloors, stubborn adhesive or even asbestos can slow down the job and increase costs.
While some may think DIY floor removal will save money, they often underestimate the tools, safety precautions and labor involved.
For contractors and flooring professionals, having the right plan and equipment for the job makes all the difference. From choosing the right floor scraper to using a concrete grinder for cleanup, the proper tools help keep projects on schedule and reduce damage to the subfloor.
Keep reading to learn practical flooring removal tips that help you avoid common challenges, no matter the type of material you’re working with.
Expect the Unexpected: Protect Your Timeline and Budget by Planning Ahead
Many property owners and facility teams try to remove floors on their own with scrapers and sledgehammers. But once the work begins, they often realize the job is tougher than expected.
Before you begin any flooring removal project, educate yourself and plan ahead to avoid these common pitfalls that can ruin your timeline and budget.
Common Pitfalls of Flooring Removal Projects
- Underestimating Dust Control and Disposal: Commercial and industrial flooring is made of heavy-duty materials and thick adhesives. Dust control and disposal can quickly become overwhelming without the proper equipment.
- Unexpected Safety Concerns: A major issue with floor removal is safety. Powered equipment like scarifiers, scabblers and grinders require proper handling and protective gear. Dust from older flooring materials can also create serious health concerns, especially if the floor or adhesive contains asbestos. Before starting any project, check for hazards like mold or asbestos and understand when professional testing or remediation services are needed.
- Not Having the Right Equipment for the Floor Type: Different flooring materials require different floor care and surface prep equipment. A floor scraper may work well for tile or vinyl, while a concrete grinder may be needed to smooth adhesive residue or level rough surfaces. Renting equipment from an experienced and reliable provider is often the smarter option. When you rent, you can choose exactly what you need for each project without investing in machines you won’t use regularly.
Trying to remove heavy-duty flooring from a large commercial space with the wrong tools and methods can waste time, damage the subfloor and increase labor costs. Having access to reliable rental equipment and experienced operators helps your project stay on track and within budget.
7 Tips to Make Any Flooring Removal Project Easier
No matter what type of flooring you are removing, a few basic steps can help the project go more smoothly. For every flooring removal project, use the tips below to help increase safety and reduce downtime or costly surprises. Later, you’ll get more insights specific to different types of flooring materials.
1. Know Your Flooring Removal Equipment Options
Using the right equipment is one of the most important parts of successful flooring removal. Different materials and adhesives require different tools, and having the wrong machine can make the job harder than it needs to be.
Since every project is different, renting equipment often makes more sense than purchasing it outright. Contractors can choose the right machine for each specific flooring type without taking on long-term maintenance or storage costs.
Equipment You May Need:
- Scrapers: A floor scraper is one of the most common tools used for floor removal. These machines help remove tile, vinyl, carpet glue and other materials without putting excessive strain on workers. Ride-on and walk-behind models are available depending on the size of the project.
- Concrete Grinders: A concrete grinder is useful after tile or vinyl flooring has been removed from a concrete slab. Grinders help smooth uneven surfaces, remove thin-set mortar, and prepare the subfloor for new flooring installation. They are especially helpful after tile removal when leftover mortar creates rough spots.
- Scarifiers: Scarifiers are designed for more aggressive concrete surface preparation. These machines use rotating cutting wheels to remove coatings, adhesives, and damaged concrete quickly. Contractors often use scarifiers when floors need deep cleaning or leveling before a new installation.
- Scabblers: Scabblers are another powerful tool for heavy-duty floor removal work. They use pneumatic force to chip away thick materials, adhesives or damaged concrete surfaces. A scabbler can be especially helpful when dealing with stubborn flooring glue or rough surfaces that need extra preparation.
| Flooring removal equipment | Commonly used for… |
| Floor scrapers | removing tile, vinyl, carpet glue and other materials without further straining workers. |
| Concrete grinders | smoothing uneven surfaces and removing thin-set mortar after tile or vinyl has been removed from a concrete slab. |
| Scarifiers | more aggressive concrete surface preparation when floors need deep cleaning or leveling. |
| Scabblers | removing thick materials, such as adhesives. |
2. Secure Proper PPE for Flooring Removal
Before starting the project, make sure everyone on the jobsite has proper personal protective equipment (PPE). Floor removal creates dust, debris, noise and sharp materials that can become dangerous without the right protection.
Plus, if there is any concern about remediating mold, asbestos or lead, test the materials before work begins and make sure you have the right PPE. Learn More: Asbestos Safe Work Practices
Flooring removal may seem straightforward, but the right PPE helps reduce accidents and keeps crews safe throughout the project.
- Dust masks are important for basic demolition work, but some projects may require respirators with filters. This is especially true when dealing with mold, adhesives or older flooring materials that may have asbestos.
- Safety glasses protect against flying debris and heavy-duty gloves to avoid cuts or scrapes.
- Hearing protection is important when using loud equipment like grinders, scarifiers, or floor scrapers for long periods of time.
- Safety footwear with slip-resistant soles and toe protection can also help prevent injuries during demolition work.
3. Create a Plan for Unexpected Challenges
Even well-planned flooring removal jobs can uncover hidden problems. When you remove layers of old flooring, you may discover rotten subfloors and other issues. As much as possible, plan ahead and work with your equipment rental provider to make sure you’ll have access to additional specialty equipment if you need it.
- If there’s moisture damage or rotten wood, identify and fix the source of the leak before installing new materials. Otherwise, the same issue may return later. Water-damaged areas may also hide mold growth underneath the floor.
- If you uncover mold, dehumidifiers and air scrubbers can help dry the space and improve air quality during cleanup. These tools help control moisture and reduce airborne contaminants while repairs are being completed.
- If you uncover asbestos, stop work until the asbestos is remediated or encapsulated by professionals. For example, in older buildings, you may uncover asbestos tile or adhesive that was lurking beneath layers of newer flooring.
Any of these challenges can add costs and time to the project, so build a contingency budget into every flooring removal project. Unexpected repairs or additional equipment needs can increase costs quickly. Planning ahead helps avoid major delays.
4. Prepare the Space Before You Start
Don’t forget to prepare the space before removing floors. Spending a few minutes preparing the area can save you hours of cleanup and frustration later.
Start by removing furniture, equipment and decor from the work area. Clear spaces make it easier to move equipment safely and reduce the risk of damaging nearby items.
Next, seal off doorways and vents with plastic sheeting to help control dust from spreading into other areas of the building. Flooring removal can create a surprising amount of debris, especially during tile or concrete work.
It is also helpful to remove baseboards, trim, and transition strips before demolition begins. This creates easier access to flooring edges and helps prevent accidental damage during removal.
Finally, make sure there is a clear path for debris removal. Having a cleanup plan in place before the work starts keeps the project organized and efficient.
5. Work in Sections
Trying to remove an entire floor at once can quickly become overwhelming. Break the project into smaller sections to stay organized and work more efficiently.
Working in sections also makes it easier to identify problems early. If one area has water damage, adhesive issues or subfloor cracks, you can address the issue before moving through the rest of the building.
Smaller work zones also help reduce dust and keep debris contained. This is especially important in occupied buildings or commercial facilities where other activities may be happening nearby.
Section-by-section removal also reduces worker fatigue. Flooring removal is physically demanding, and tackling manageable areas each at their own time helps crews maintain steady progress throughout the day.
6. Control Dust and Debris
Flooring removal projects can create large amounts of airborne dust that spreads throughout a building if not properly managed. Loose debris and dust buildup can also create slip hazards and make it harder to operate equipment safely.
Using shop vacs and dust collection systems during demolition helps reduce cleanup time and improve air quality. Contractors should also keep heavy-duty debris bags or dumpsters nearby so unwanted materials can be disposed of quickly.
Watch Out: Different flooring materials may require different disposal methods. Some adhesives, tiles or vinyl materials may need special handling depending on local regulations. Contractors should always check disposal guidelines before starting the project.
7. Protect the Subfloor
One of the biggest mistakes that you can make when removing a floor is damaging the subfloor underneath. Gouges, cracks or uneven surfaces can add extra repair work before new flooring can be installed. Taking extra care during demolition helps reduce repair costs and creates a smoother surface for the next flooring system.
How to Protect Your Subfloor:
- Use the Right Equipment and Use It Correctly: When using scrapers or pry bars, workers should avoid digging too aggressively into the surface below. Powered equipment should also be adjusted properly for the flooring material being removed.
- Inspect as You Go: Contractors should inspect the subfloor regularly during removal to spot problems early. Look for soft spots, moisture damage, cracks or uneven areas that may require repairs before installation can continue.
Quick Guides: Flooring Removal by Type of Floor
You now know how to make any flooring removal project easier. But, sometimes different materials require different removal methods and equipment. Take your floor removal expertise to the next level with these quick guides for removing common flooring types.
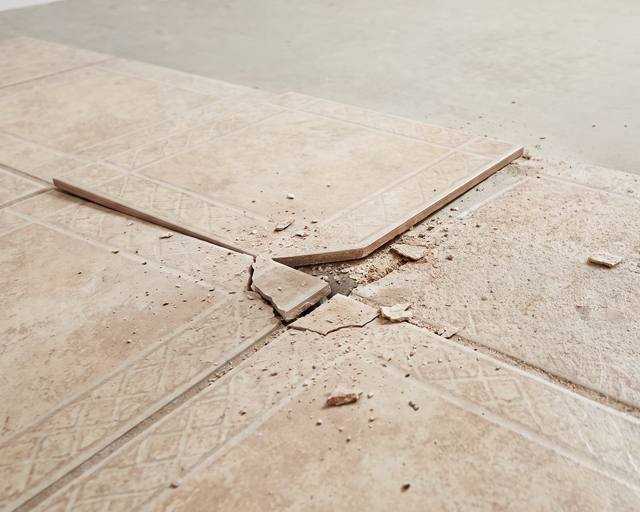
How to Remove Tile Floors
When removing tile floors, expect heavy debris and sharp edges. Use proper personal protective equipment (PPE) throughout the project. PPE and a well-sealed work site are even more necessary if teams will be removing asbestos floor tiles. You’ll likely be required to follow local asbestos abatement safety standards.
- Step 1: Start with finding a loose or cracked tile. Once one tile is removed, it becomes easier to work underneath the surrounding tiles.
- Step 2: Using a floor scraper or pry tool to remove the remaining tiles.
- Step 3: After the tiles are removed, leftover mortar and adhesive usually remain on the surface. Use a concrete grinder to smooth the subfloor and prepare it for new flooring installation.
Equipment You’ll Need: Scraper or pry tool, concrete grinder, gloves, masks, eye protection, protective footwear, dust control
How to Remove Vinyl Flooring
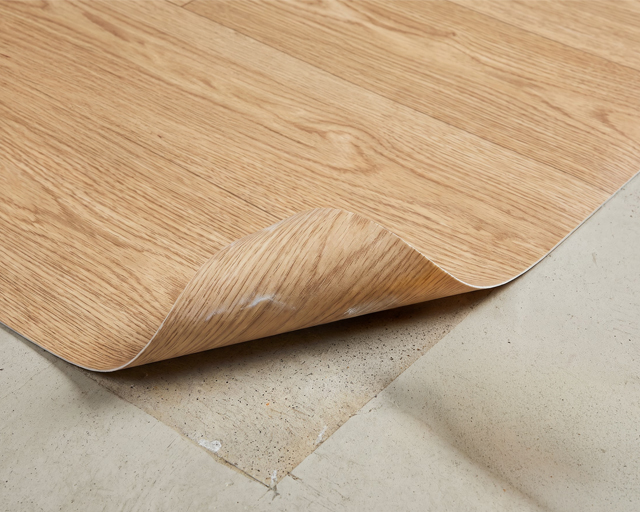
When you remove vinyl flooring, work slowly and carefully to protect the subfloor from unnecessary damage during vinyl removal. You may uncover additional types of flooring beneath the vinyl, which may or may not contain asbestos.
- Step 1: The first step is checking the age of the material. Older vinyl flooring and adhesives may contain asbestos, so testing may be necessary before removal begins.
- Step 2: Once the area is cleared for work, vinyl tiles or sheets can often be lifted using a floor scraper.
- Step 3: Adhesive residue underneath may require a scabbler or grinder for complete removal.
Equipment You’ll Need: Scraper or pry tool, scabbler or grinder, gloves, masks, eye protection, protective footwear
How to Remove Linoleum Flooring
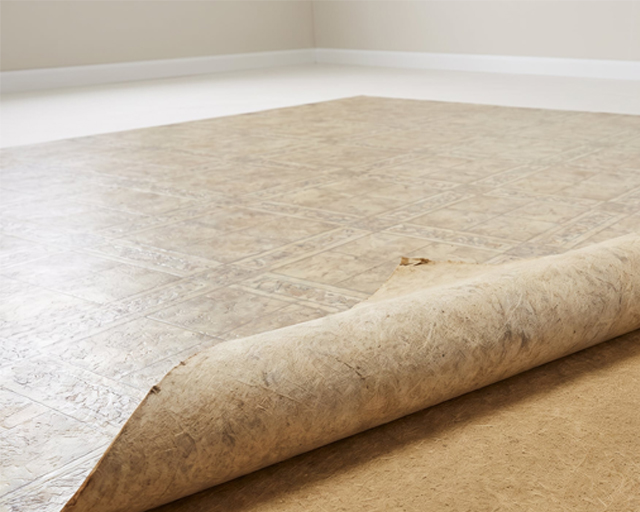
Similar to vinyl flooring, linoleum floor removal can be tricky if the adhesive is very strong or if you have multiple layers of flooring to remove.
- Step 1: How easy it is to remove linoleum flooring depends heavily on the adhesive underneath the material. In some cases, the top layer can be peeled away fairly easily, while older adhesives may be much more stubborn and require specialized equipment.
- Step 2: For difficult adhesive removal, a scabbler may help break down the remaining material more efficiently. Just be careful not to use a scraper or other tools too aggressively, as doing so can damage the subfloor below.
- Step 3: After the flooring is removed, you should clean and inspect the subfloor before installing new materials.
Equipment You’ll Need: Scraper or pry tool, scabbler or grinder, gloves, masks, eye protection, protective footwear
How to Remove Laminate Flooring
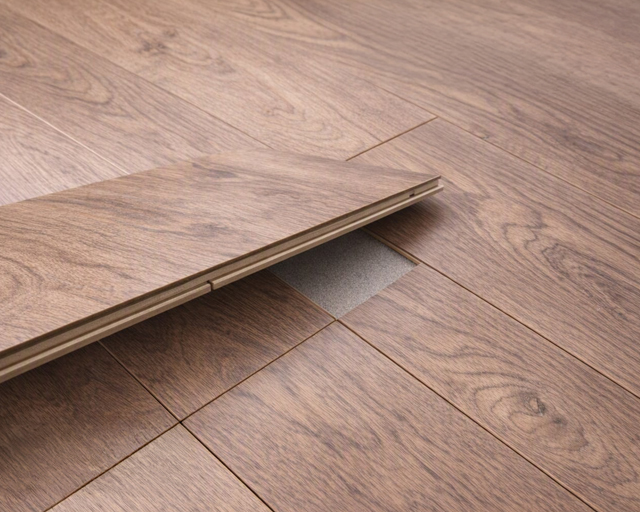
Laminate flooring removal is generally faster than tile removal, but careful handling still helps avoid unnecessary damage underneath.
- Step 1: Start by removing transition strips and baseboards.
- Step 2: Most laminate flooring planks can then be unlocked and lifted, row by row.
- Step 3: Remove stuck-on or damaged sections with extra prying or cutting. Which tools you’ll need may depend on how the floor was installed.
- Step 4: If glue was used during installation, a scabbler may be necessary to remove leftover adhesive from the subfloor.
Equipment You’ll Need: Scraper or pry tool, scabbler or grinder, gloves, masks, eye protection, protective footwear, dust control
Make Flooring Removal Easier with the Right Equipment
Getting rid of your building’s old floors doesn’t have to be a stressful or time-consuming project. With the right equipment, proper planning and attention to safety, you can complete floor removal jobs faster while protecting the subfloor and controlling dust and debris.
Whether you need a floor scraper, concrete grinder, scarifiers, scabblers, air scrubbers or dehumidifiers, the experts at Herc Rentals can help you find the right equipment for the job. To learn more, visit our floor care solutions, or call 1-800-432-6215 to speak with an equipment expert today.