
Last Updated on August 26, 2026
Restoring your floors is a cost-effective, environmentally responsible way to extend the life of existing surfaces without the expense and waste of a full replacement. This is especially true for high-traffic facilities like airports, factories and hotels.
However, floor restoration can quickly become labor-intensive and time-consuming if you don’t have the right equipment ready. From initial surface preparation to final finishing, tools like sanders, shot blasters, buffers and burnishers play a critical role in improving efficiency and delivering top-notch results. Each phase requires the right combination of floor restoration equipment to properly clean, level and refine the surface.
Let’s explore which equipment makes the work faster, easier and more consistent from start to finish and how best to use them.
Renting vs. Buying Flooring Restoration Equipment: How to Make the Best Choice
When sourcing floor restoration equipment, you may wonder if it makes more sense to rent or buy. The short answer: it depends. Before you can make that choice, you need to ask yourself a few key questions:
- What type of equipment do I need?
- How frequently will I use it?
- What is my budget?
- Does my crew have the skills to operate and maintain equipment?
Renting is often the best choice for short-term or occasional projects. It requires less upfront capital, eliminates maintenance and storage responsibilities, and provides access to the latest equipment. Renting also allows you to scale up or down as project needs change. The main drawbacks are less control over equipment availability and the potential for higher long-term costs if used regularly.
Buying equipment makes more sense when usage is high and consistent. Ownership provides immediate 24/7 access and can deliver a strong return on investment over time. It may also offer tax advantages. However, purchasing requires a significant upfront investment and brings ongoing costs for maintenance, repairs and storage. It can also reduce flexibility as equipment needs evolve.
By evaluating these factors, you can choose the option that provides the best overall value for your operation.
Gear Up: Floor Restoration Equipment Options You May Need
The equipment required for a floor restoration project depends on the type of flooring being restored and the condition of the surface. Hardwood floors often require sanding and edging equipment to remove old finishing and smooth imperfections, while concrete floors may require surface preparation equipment, such as shot blasters, before coating or overlays can be applied. Buffers and burnishers can be used to refine, clean and maintain a variety of floor surfaces.
Having the right equipment improves productivity, safety and overall project quality. It can also reduce labor, support consistent results and prepare the floor properly for finishing or coating.
Floor Sanders for Hardwood
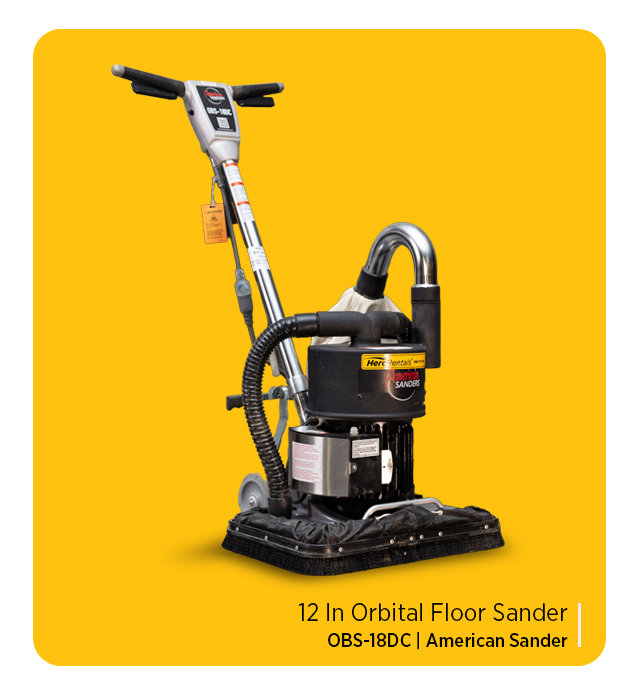
Floor sanders are often the primary equipment used in hardwood floor restoration. These machines remove the top layer of wood using abrasive materials like sandpaper. Think of them as the workhorses of a hardwood floor restoration project.
There are three main types of sanders for wood floors:
- Buffer Sanders: Working in a circular motion, they are commonly used for screening, polishing and light refinishing work. They are often used to prepare floors for recoating. Another common use is to maintain existing finishes in commercial or industrial spaces.
- Square Vibrating Sanders: Considered the easiest type of sander to operate, these machines are a good option for smaller areas or inexperienced users. However, they are slower and more labor-intensive than other sanders.
- Drum Sanders: The most aggressive and efficient option for removing old finishes and leveling floors are drum sanders. While highly productive, drum sanders require practice and careful operation to avoid damaging the floor.
Not all flooring materials can be sanded. Solid hardwood, cork, particleboard and some parquet floors can be refinished. Many engineered floors cannot be refinished. Always verify the flooring type before beginning a restoration project.
Regardless of the machine you choose, one rule applies to every sanding project: keep the sander moving. Allowing it to remain in one spot for too long can create grooves, gouges or uneven surfaces that may be difficult to fix.
Floor Edgers for Hardwood
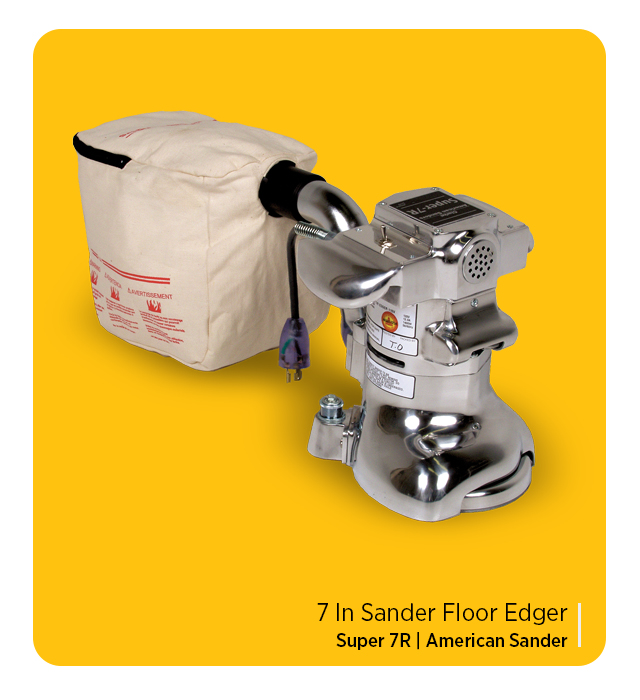
While floor sanders handle most of the floor surface, they cannot reach corners, edges, stair landings and other tight spaces. A floor edger is designed to sand these areas.
Like a drum sander, an edger must be handled carefully to avoid damaging the floor. These machines are powerful and, if paired with the wrong grit or used improperly, can dig into the wood and leave gouges that are difficult to repair.
When renting a floor sander and floor edger, equipment experts can help you match the machine to the appropriate abrasive grit for the job. They can also provide directions on proper sanding techniques to help you achieve professional results.
Shot Blasters for Concrete
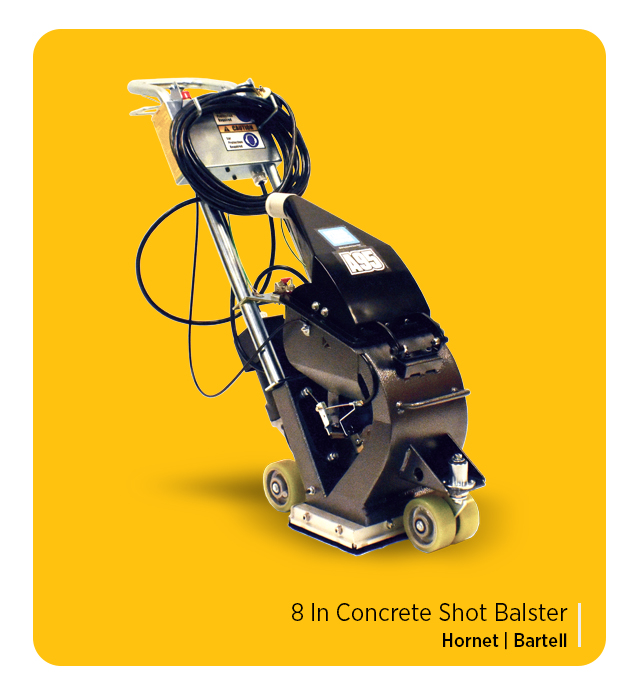
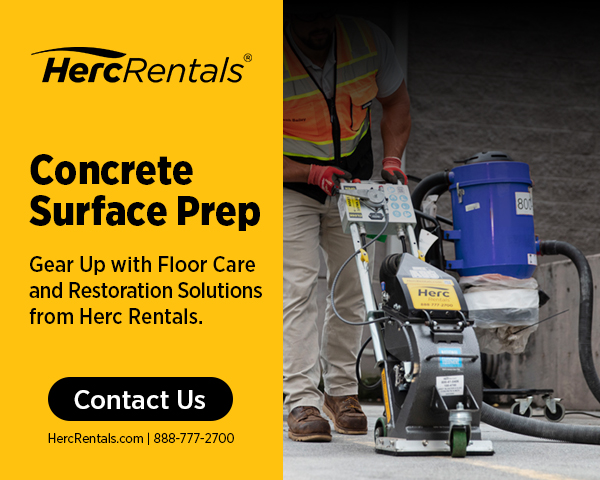
Shot blasters are commonly used in concrete floor preparation to remove dirt, grime and other contaminants before coatings or overlays are applied. Unlike buffers, which polish or clean, shot blasters create a roughened surface that helps decorative toppings, sealers and coatings bond more effectively to the concrete.
These machines are powered by electric, diesel or gas engines. They’re available in both manual and self-propelled walk-behind models. Shot blasters work by propelling small steel balls at high speed onto the concrete surface, breaking away the top layer of material. As the machine moves forward, the steel shot is recovered and recycled back into the system for continued use.
Shot blasters are ideal for preparing broom-finished or hand-troweled concrete and are often used when a consistent surface profile is required for coating adhesion. They should not be confused with scarifiers, and are generally not recommended for removing thick, rubbery or highly elastic coatings.
Buffers for Finishing and Maintenance
After a floor is refinished, proper maintenance helps preserve its appearance and extend its life. Floor buffers and burnishers are commonly used to keep floors clean, glossy and well-maintained.
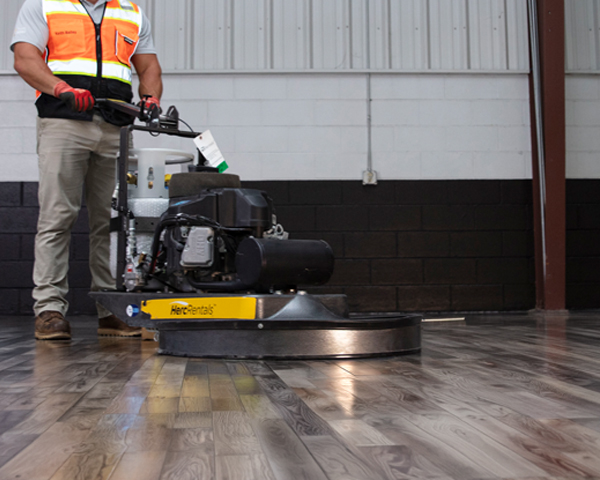
Floor buffers — also known as strippers, swing machines and side-to-sides — are industrial cleaning tools used to remove wax buildup, dirt and scuff marks while also restoring shine to the floor surface. They operate at speeds between 175 and 400 rotations per minute and can be fitted with different pads or brushes, depending on the application. With the proper attachment, buffers can also be used for light scrubbing or cleaning other surfaces, including carpets.
Burnishers serve a different purpose. While they may look like buffers, they operate at much higher speeds, between 1,500 and 3,000 rotations per minute. Instead of side-to-side movement, burnishers move forward and are used to produce a high-gloss, polished appearance that can make floors look freshly finished or wet.
Many facilities use both tools — buffers to clean and restore, followed by burnishers to enhance shine — to maintain a clean, professional-looking floor over time.

Floor Restoration Equipment At a Glance
| Floor Care Equipment | Best For… |
| Floor sanders | Restoring hardwood |
| Floor edgers | Sanding corners, edges, stairs and other tight spaces |
| Shot blasters | Preparing concrete floors |
| Buffers and burnishers | Finishing and maintenance |
Step-by-Step Tips for a Successful Flooring Restoration Project
Two types of commercial flooring that need restoration are hardwood floors and concrete floors. Hardwood floors need to look beautiful, but they can look worn out after a few years of regular use. Concrete floors need to support heavy industrial machines and high traffic zones.
A systematic approach is key to achieving consistent, high-quality results. The following pro tips outline how to restore two of the most common flooring types — hardwood and concrete—along with the rental equipment commonly used at each stage of the process, from preparation through finishing.
Before You Begin: Clean and Assess the Flooring
A well-executed flooring restoration project starts with a thorough cleaning and assessment of the space. This helps you understand the condition of the flooring, whether restoration is feasible, and what equipment and materials are needed.
Remove obstacles that could interfere with the process, then inspect the floor for damage, wear patterns, coatings and structural issues that may affect your approach.
How to Prepare for Any Floor Restoration Project:
- Remove furniture, window treatments, wall decor, doors and base molding to create a clear workspace.
- Seal doorways and vents and turn off HVAC systems to help control dust.
- Secure loose boards with finishing nails, countersinking all to prevent equipment damage.
- Clean the surface thoroughly to remove dirt, grease and debris.
- Measure total square footage to estimate time, materials and equipment needs.
- Discuss the desired outcome with clients or tenants before work begins.
How to Restore Hardwood Floors
Hardwood floor restoration is as much about preserving their natural beauty as it is repairing wear and damage. Selecting the right restoration method and equipment creates a smooth, consistent finish that enhances appearance and stands up to years of use.
- Identify Common Issues: Look for scratches, dull or uneven finishes, water stains and discoloration. Serious damage may require full sanding, while light wear may only need buffing or screening.
- Choose Sanding or Sandless Methods: Sanding is best for deep scratches, heavy wear or complete refinishing. If you’re researching how to restore hardwood floors without sanding, sandless methods, like screening, buffing and recoating, are effective options for surface-level wear and maintenance restoration.
- Use Floor Sanders and Edgers Appropriately: Floor sanders are essential for removing old finish and leveling the surface, while a floor edger is used for corners, edges and other tight spaces.
- Apply the Right Finish: Depending on the desired appearance and durability, choose a stain for color enhancement, sealant for protection or polyurethane for a durable, long-lasting topcoat.
- Allow proper Drying and Curing Time: Rushing this step can lead to uneven texture, poor durability or premature wear. Follow manufacturer recommendations for drying between coats and curing.
How to Restore a Concrete Floor
Concrete floor restoration focuses on improving both appearance and performance. Proper preparation, repair and finishing techniques can extend the life of the floor while creating a cleaner, more durable surface for everyday use.
- Identify Damaged Areas: Look for stains that have penetrated the surface, visible cracks, spalling caused by wear or freeze-thaw damage, and uneven areas.
- Clean and Assess the Extent of the Damage: Remove dirt, grease and debris, then inspect the floor to determine the level of restoration required.
- Repair Damage Before Resurfacing: Address cracks, holes and spalled areas using appropriate patching or repair compounds to create a stable, uniform base.
- Use a Shot Blaster for Surface Preparation: Shot blasting is an effective method for removing contaminants, opening concrete pores and establishing a surface that improves coating adhesion.
- Grind or Polish Floors: Grinding is used to level the surface and remove imperfections or existing coatings. Polishing creates a smooth, glossy finish that is ideal for decorative or high-traffic areas.
- Apply the Right Sealer or Coating: Choose sealers for basic protection against moisture and stains or apply epoxy, urethane or other coatings for enhanced durability and chemical resistance.
- Allow Proper Curing Time: Ensure coatings and sealers are fully cured before using the floor. Rushing this step can lead to damage, reduced durability or premature wear.
Make Floor Restoration Easier with Herc Rentals
Successful flooring restoration depends on having the right equipment, training and support in place before the project begins.
The experts at Herc Rentals can help you select flooring restoration equipment that improves efficiency, reduces labor and helps control project costs, while achieving professional-quality results.
From sanders and edgers to shot blasters and floor buffers, our team can match you to the right equipment for the job. We also offer safety training and guidance to ensure your crew operates equipment properly, safely and confidently on site.
Explore our complete lineup of floor care equipment, or call Herc Rentals at 1-800-432-6215 to talk to an expert today.


