Last Updated on November 4, 2025
Mastering the art of poured concrete can make a huge difference for your bottom line. It’s such a versatile material that can expand your services to a wider range of projects, from patios to pools and foundations to finishing touches.
But poured concrete will only help your bottom line if you install it correctly.
If the concrete cracks, crumbles or sinks, you’ll end up having to do costly repairs and rework. Plus, if the concrete isn’t leveled correctly, it could cause drainage issues that damage nearby structures.
In this article, you will learn the essential steps for laying concrete properly for strong and beautiful results.
Why Correct Pouring and Leveling Is Essential When Laying Concrete
Consumers and professionals alike love poured concrete because it is a strong, durable material that can be molded into nearly any shape. If you want a strong end result with a beautiful finish and no drainage issues, then you have to properly pour and level the wet concrete.
The challenge is that concrete waits for no one. Once the wet concrete comes out of the mixer, you have a limited amount of time to properly pour and level the concrete before it hardens. Read on to learn the best steps to follow and equipment to use when laying concrete.
Before You Pour: How to Mix Concrete Properly
Laying concrete is easier if the site is prepared early, before or during the mixing process.
The steps in the next section will tell you how to prepare the site, pour the concrete, and level and finish the concrete.
However, to be successful, you also need properly mixed concrete. A mixture that is too wet or too dry will be a hassle to work with. To learn now to mix concrete, read the guide below before continuing.
- Learn More: How to Properly Mix Concrete in a Mixer

How to Pour and Level Concrete
Follow the steps below to help you prepare the site and pour and level the wet concrete to ensure strong and excellent results for your customers.
1. Gather the Right Equipment for Laying Concrete
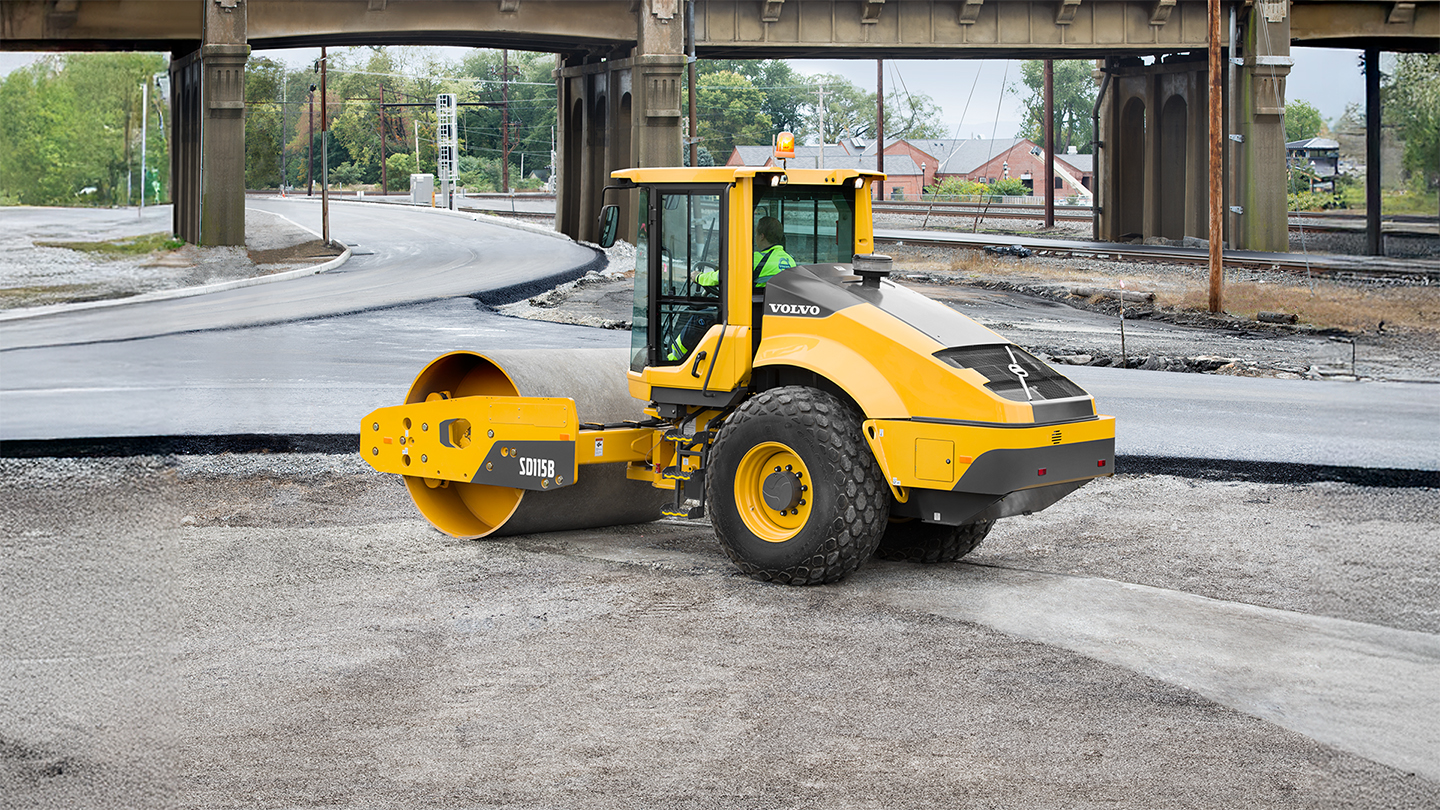
There are four main phases to laying concrete: preparing the site, mixing the concrete, pouring the wet concrete, and then leveling and finishing the concrete.
Remember, wet concrete won’t wait for you, especially in hot and dry climates. Depending on the size of your project, you may need to rent concrete and masonry supplies to get the job done quickly and effectively.
It’s worth it to rent equipment and lay concrete right the first time. This will save you from the hassles of installing concrete too slowly or incorrectly and having to pay for expensive rework and unhappy customers.
Review your local building codes and consider the project site to determine what supplies will be best. For example, small jobs in dry climates may not require rebar for support or deep gravel foundations for groundwater drainage.

2. Prepare the Site
Before you can pour concrete, you need to excavate the area and build a frame to pour into. Clearing the site properly helps ensure that your final concrete slab will have the right shape and slope.
- Measure and mark the perimeter of the area you want to pour. Use the stakes to mark the corners. Place the stakes beyond where the corner of the final concrete will be to allow room for the framing.
- Create a visual guideline for where the framing will be by running the mason string between the stakes. If the concrete needs to be level, make sure the string is level, too. If the concrete needs to be sloped to allow for drainage, make sure the string is sloped as well.
- Once you are happy with the shape, excavate the area using shovels or a mini excavator. Dig down approximately 12 inches. This depth will give you room to add a solid gravel base and pour the required thickness of concrete.
- Build the frame using lumber or other edging materials. Brace the frame so that it won’t move or break when the concrete is poured.
3. Fill and Level the Base
Concrete needs a sturdy, compacted base with good drainage as a foundation. Most locations will need a gravel base below the poured concrete. The gravel protects the concrete from cracking and shifting as groundwater and freeze/thaw cycles move the soil.
To create a level, sturdy base:
- Compact the excavated soil within the frame using a tamper or plate compactor. Check that the area is leveled or sloped correctly.
- Fill the frame with gravel to a remaining depth of about 4 to 6 inches. A gravel aggregate is the most common base with concrete sand used to fill in the gaps.
- Pro Tip: Check your local building codes and consider the type of soil you’re working on to determine how much gravel you need. Clay soil or areas that will bear heavy weight (like a driveway) will need more gravel.
- Compact the gravel using a tamper or plate compactor. Compacting the base helps ensure that it doesn’t sink and add stress to the slab.
- Check to confirm that the gravel is leveled or sloped correctly.
4. Reinforce the Base, If Needed
Reinforcing the base with steel rebar or wire mesh makes the concrete much stronger and will reduce cracking. Steel reinforcement might not be needed for small jobs that won’t be bearing a lot of weight, like a pedestrian walkway. But most jobs benefit from the added strength. In addition, some localities require rebar or wire mesh, so check your local building codes and safety regulations.
- Select which type of reinforcement you need.
- If the slab will be 5 inches thick or more, use rebar.
- If the slab will be thinner than 5 inches, use sheets of steel wire mesh.
- Place the rebar or mesh on top of the gravel base. Secure them so they will be in the upper third of the poured concrete slab.
- Make sure the reinforcement will be completely covered by at least 2 inches of concrete. Any ends that stick out could cause injuries or damage to the final product.
- Optional: Place plastic sheeting around the outside of the area. This will help make cleanup easier if any concrete spills outside of the frame.

5. Pour the Concrete
It’s time to pour the mixed concrete. Remember, once the wet concrete is out of the mixer, you have to work quickly without sacrificing safety.
Tips for Pouring Concrete Quickly and Safely:
- Plan your route from the mixer (or cement truck) to the pour site. Make sure the route is as short and clear as possible. If the mixer is far from the pour site, use a concrete buggy or wheelbarrow to minimize travel time.
- Make sure you have at least one assistant and that everyone wears proper PPE. They can help keep the area clear, position wheelbarrows and guide the wet concrete as it’s poured.
- Make sure the concrete is mixed properly. If it’s too dry or wet, it won’t set properly. You may need to adjust the mixture or reject the batch and start again.
- Spray the gravel base with water from a hose or sprayer. Soaking the base first prevents the concrete from drying too quickly.
- Pour and spread the wet concrete into the frame or mold. Have your assistant use a mortar hoe to spread the concrete evenly as you pour it.
- Stop pouring concrete when it is level with the top of the framework and covers all rebar or mesh.
6. Remove Air Bubbles
All wet concrete gets pockets of air as it’s poured. These air bubbles weaken the concrete and can increase cracking.
- Use a concrete vibrator to settle the wet concrete and remove all the air bubbles. This will also help you level and finish the concrete properly.
- Learn more about concrete vibrators and how they make concrete stronger.

7. Level the Surface
Once the concrete has been poured and air bubbles removed, it’s time to make sure it’s level and the surface is ready for the final finish.
Tips for Leveling:
- Pull a board, or screed, back and forth over the surface. This levels it out and removes any excess concrete.
- Use a level to confirm that the slab is sloped correctly.
- Smooth out the surface using a powered concrete trowel, darby or concrete float. This will pull excess water to the surface and make sure the concrete is compacted.
- If water rises to the surface, wait for the puddles to evaporate a bit before continuing.
8. Finish, Seal and Cure the Surface
Depending on the project, you may need to finish and seal the surface before the concrete is fully cured and dry. For example, patios and walkways often need a textured surface to keep people from slipping. Other projects may require an extremely smooth surface.
Tips for Finishing the Surface:
- For a smooth finish, use a concrete trowel or hand float, but be careful not to overwork the concrete.
- For a textured, non-slip surface, lightly brush the wet surface with a concrete finishing broom.
- Use a groover tool to cut joints or decorative details into the surface.
- Apply a concrete sealant using a sprayer or roller to help strengthen the concrete and keep it from cracking. Read the instructions on the curing or sealing product for proper application.
- Allow the concrete to cure (or fully dry and harden) fully before putting any weight on it. Depending on the weather conditions, you may need to keep the slab moist to make sure it cures evenly.

Make Laying Concrete Easier with Equipment from Herc Rentals
Whether you’re creating a custom concrete patio or a slab foundation, having reliable high-quality equipment can make all the difference when pouring concrete. The right equipment can help you beat the race against the clock to pour and level concrete before it cures. The result is durable, gorgeous concrete that your customers will love.
The next time your project calls for poured concrete, turn to the equipment rental experts at Herc Rentals. Our fleet of concrete buggies, mixers and other concrete products come from reputable manufacturers, ensuring you get premium results.
Our experts will also help you choose the best solutions for your project and make your life easier with affordable delivery services and responsive on-site maintenance.
Explore our wide selection of top-quality concrete equipment rentals, or call 1-800-432-6215 to talk to a specialist today.